How to Take Good Skin Photos for Your Telehealth Appointment
Clear photos help your dermatologist assess your skin properly and give the best advice possible. Please follow these simple steps before uploading your photos to the telehealth platform.
Before You Start
Use a phone with a clean camera lens
Take photos in a bright room or near a window with natural light
Avoid yellow lighting, filters, beauty mode, or flash where possible
Remove makeup, creams, or sunscreen from the area if you can
Tie hair back if photographing the face or scalp
Step-by-Step Guide
1. Take a Full Area Photo
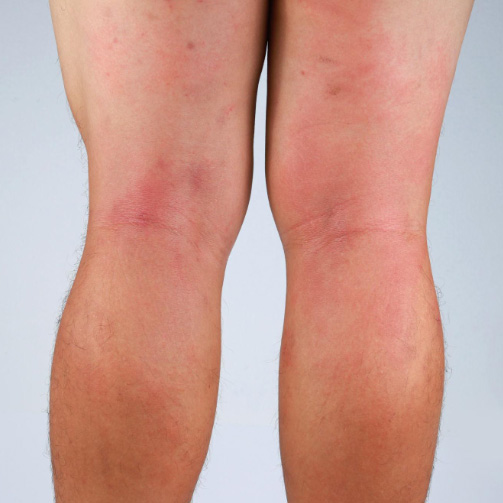
Start with a photo that shows where the skin concern is located on the body. Examples:
Entire face
Whole arm
Whole leg
Back or chest area
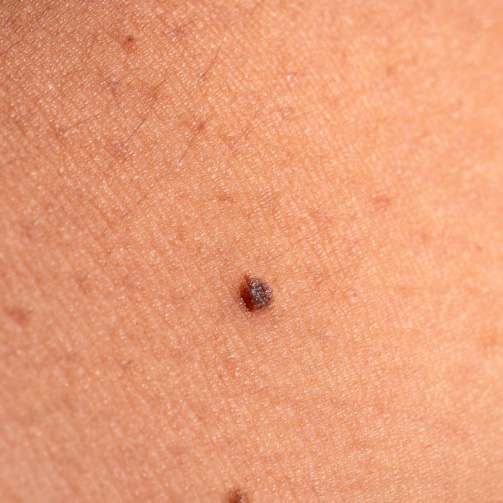
2. Take a Closer Photo
Move closer so the skin concern fills most of the screen. Make sure:
The image is still in focus
The lighting is even
The skin texture can be seen clearly
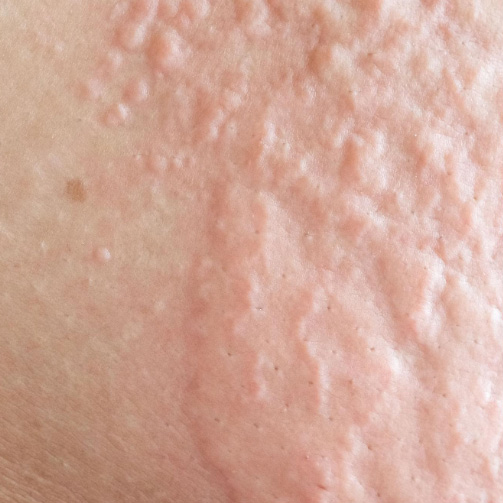
3. Take One Very Close Detailed Photo
If possible, take one detailed close-up photo from about 10–15 cm away. Tips:
Tap the screen to focus before taking the photo
Keep your hand steady
If blurry, move slightly further back instead of using zoom
Important Tips
Please Avoid:
Blurry photos
Dark lighting
Using filters or portrait mode
Taking photos too far away
Covering the area with hair or clothing
Helpful Extras
If relevant, you can also upload:
Photos showing how the condition changes over time
Photos taken during flare-ups
A ruler or coin beside the area for size comparison
Final Checklist
Before uploading, check that:
Photos are clear and in focus
The skin concern is easy to see
Lighting is bright and natural
At least 3 photos are included: full area, close-up and detailed close up
These photos help your dermatologist provide a more accurate assessment and treatment plan.